ESP32 Tutorial: Web Server Displaying PNG Images from Flash Memory
Abstract
This tutorial explains how to serve a PNG image directly from the ESP32’s Flash Memory (specifically, the program memory, not the filesystem) via a web server. To achieve this, the binary data of the PNG image must first be converted into a C/C++ byte array and embedded directly into the sketch. The ESP32 Web Server then serves this byte array with the correct image/png MIME type.
1. Introduction to Serving Embedded Images
When building a user interface for an ESP32 web server, incorporating visual elements like logos, icons, or status images is essential. While larger files are typically stored in a file system like SPIFFS or LittleFS, smaller, critical static assets can be more efficiently and reliably served by embedding them directly into the program’s Flash Memory.
This intermediate-level technique bypasses the complexity and overhead of file system management entirely. Instead, the binary data of an image—in this case, a PNG file—is converted into a C/C++ byte array and compiled right into the sketch alongside your code. This method ensures the assets are always available and reduces dependencies.
This tutorial outlines the process for achieving this:
Conversion: Transforming a standard
.pngfile into aconst unsigned chararray and an accompanying length variable.Embedding: Including this data directly within the Arduino sketch header.
Serving: Configuring the ESP32 Web Server to serve this raw binary data using the correct
image/pngMIME type and the memory-efficientserver.send_P()function, allowing the client browser to seamlessly display the image using a standard HTML<img>tag.
2. The Conversion Process: PNG to C Array
Since we are storing the image directly in the ESP32’s program space (Flash) instead of a file system (like LittleFS/SPIFFS), the binary data must be represented as a C array.
2.1 Step-by-Step Conversion (External Tool)
You will need an external tool to convert the PNG file (image.png) into a C array (image.h).
2.1.1 Use an Online Converter or Command Line:
Use a tool like xxd (common on Linux/macOS) or an online tool specifically designed to convert binary files to C arrays.
xxd command:
Bash
xxd -i image.png > image_data.h

Output File (image_data.h) Content: The resulting file will contain code similar to this:
unsigned char image_png[] = {
0x89, 0x50, 0x4e, 0x47, 0x0d, 0x0a, 0x1a, 0x0a, 0x00, 0x00, 0x00, 0x0d,
0x49, 0x48, 0x44, 0x52, 0x00, 0x00, 0x00, 0x40, 0x00, 0x00, 0x00, 0x40,
// … thousands more bytes …
0x49, 0x45, 0x4e, 0x44, 0xae, 0x42, 0x60, 0x82
};
unsigned int image_png_len = 8192; // The size of the image in bytes
2.1.2 Save the Array
Copy the contents of the generated C array (image_png) and its length (image_png_len) into a new file named image_data.h in your Arduino sketch folder.
Change the array to be placed in FLASH instead of RAM, this can be done by adding the const: const unsigned char image_png[]
3. The ESP32 Arduino Sketch
The ESP32 sketch will include the generated header file and define a specific web handler to serve the image data as a raw response.
3.1 Libraries and Image Inclusion
#include
#include
// Replace with your network credentials
const char* ssid = "YOUR_WIFI_SSID";
const char* password = "YOUR_WIFI_PASSWORD";
// --- Include the generated C array file ---
// Ensure 'image_data.h' is in the same folder as the sketch
#include "image_data.h"
WebServer server(80);
// Global variables to hold the image data and size (from image_data.h)
// These variables are already defined in the included file:
// extern unsigned char image_png[];
// extern unsigned int image_png_len;
3.2 Image Handler Function
The key to serving the image correctly is sending the raw byte array and setting the Content-Type header to image/png. The PROGMEM macro is often used to ensure the array is stored efficiently in Flash memory.
// Handler for serving the raw PNG image data
void handleImage() {
// Set the Content-Type header to tell the browser it's a PNG image
server.sendHeader("Content-Encoding", "identity"); // Prevent compression issues
// Send the raw binary data
server.send_P(200, "image/png", (const char*)image_png, image_png_len);
}
// Handler for the root page (HTML viewer)
void handleRoot() {
server.send(200, "text/html", getHtmlPage());
}
3.3 HTML Generation
The HTML page simply uses a standard <img> tag that links to the specific endpoint (/logo.png) handled by the handleImage() function.
String getHtmlPage() {
String html = R"rawliteral(
ESP32 Embedded Image
PNG Image Served from Flash
This image is stored directly in the ESP32's program memory.
ESP32 IP: IP_ADDRESS
)rawliteral";
// Replace placeholders
html.replace("IP_ADDRESS", WiFi.localIP().toString());
return html;
}
3.4 Setup and Main Loop
void setup() {
Serial.begin(115200);
// Connect to Wi-Fi
WiFi.begin(ssid, password);
Serial.print("Connecting to WiFi...");
while (WiFi.status() != WL_CONNECTED) {
delay(1000);
Serial.print(".");
}
Serial.println("\nWiFi connected.");
Serial.print("Web Server IP: ");
Serial.println(WiFi.localIP());
// Setup Web Server Routes
server.on("/", HTTP_GET, handleRoot);
// Route for the image request
server.on("/logo.png", HTTP_GET, handleImage);
server.begin();
}
void loop() {
server.handleClient();
}
4. Source Code
The entire code for an easier copy and paste:
#include
#include
#include "image_data.h"
// Replace with your network credentials
const char* ssid = "YOUR_WIFI_SSID";
const char* password = "YOUR_WIFI_PASSWORD";
WebServer server(80);
// Global variables to hold the image data and size (from image_data.h)
// These variables are already defined in the included file:
// extern unsigned char logo_hacker_png[];
// extern unsigned int logo_hacker_png_len;
// Handler for serving the raw PNG image data
void handleImage() {
// Set the Content-Type header to tell the browser it's a PNG image
server.sendHeader("Content-Encoding", "identity"); // Prevent compression issues
// Send the raw binary data
server.send_P(200, "image/png", (const char*)logo_hacker_png, logo_hacker_png_len);
}
// Handler for the root page (HTML viewer)
void handleRoot() {
server.send(200, "text/html", getHtmlPage());
}
String getHtmlPage() {
String html = R"rawliteral(
ESP32 Embedded Image
PNG Image Served from Flash
This image is stored directly in the ESP32's program memory.
ESP32 IP: IP_ADDRESS
)rawliteral";
// Replace placeholders
html.replace("IP_ADDRESS", WiFi.localIP().toString());
return html;
}
void setup() {
Serial.begin(115200);
// Connect to Wi-Fi
WiFi.begin(ssid, password);
Serial.print("Connecting to WiFi...");
while (WiFi.status() != WL_CONNECTED) {
delay(1000);
Serial.print(".");
}
Serial.println("\nWiFi connected.");
Serial.print("Web Server IP: ");
Serial.println(WiFi.localIP());
// Setup Web Server Routes
server.on("/", HTTP_GET, handleRoot);
// Route for the image request
server.on("/logo.png", HTTP_GET, handleImage);
server.begin();
}
void loop() {
server.handleClient();
}
5. Hands-On Lab Recap
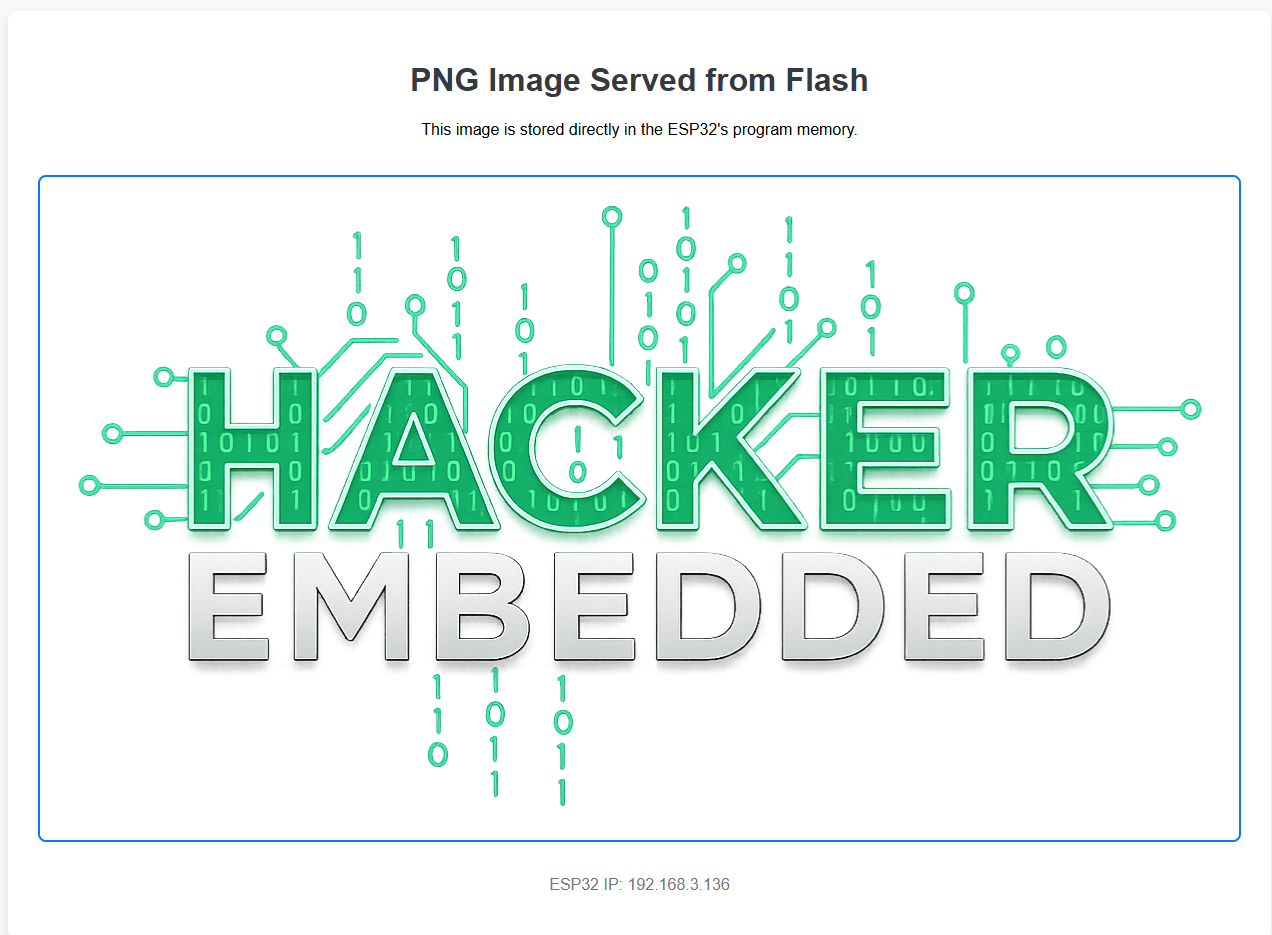
You have successfully embedded and served a binary image file from the ESP32’s Flash memory:
- Conversion is Key: The PNG file must first be converted into a C/C++ byte array (e.g., using xxd).
- Flash Storage: The array is placed in a header file (h) and compiled directly into the ESP32’s program space (Flash).
- MIME Type: The web server handler for the image URL (/logo.png) is crucial. It must set the correct Content-Type: image/png header before sending the raw bytes using send_P().
- <img> Tag: The HTML page references the image using a standard <img src=”/logo.png”> tag, relying on the ESP32 to intercept and serve the corresponding data.


