Getting started with Zephyr and STM32! Learn how to handle the UART and use it for printf with Zephyr and STM32
Abstract
Zephyr is a open-source and vendor neutral proven RTOS ecosystem, with a small memory footprint, usually less than 8KB FLASH and 5KB RAM and it’s made to be scalable, from small MCUs to complex multi-core systems. In this article series we’ll explore the Zephyr with STM32.
1. Introduction
This tutorial assumes you have already installed the Zephyr and its dependencies. You can follow the official installation guide:
Getting Started Guide — Zephyr Project Documentation
If you are new to Zephyr, follow ours: Hacker Embedded Getting Started with Zephyr and STM32
In this tutorial, we will offer the code ready, based on the U5 IOT board. But you can create a Zephyr application using other methods explored in previous articles, such as:
- Use the official example application.
- Create an application from scratch.
The example can be found here> https://github.com/hackerembedded/Zephyr_Blank_App
The goal of this demo is to use the beloved Universal Asynchronous Receiver/Transmitter (UART), one of the most widely used communication interfaces in embedded systems, to output the serial interface via prints messages to a serial terminal every second.
2. Creating a New UART Application
Since you will be creating multiple projects, there is no need to recreate all application files each time you start a new development. Instead, you can use a blank Zephyr application as a template.
The solution used in this tutorial is available at:
https://github.com/hackerembedded/Zephyr_Blank_App
Navigate to your application directory:
Clone the blank application:
Rename the project folder:
Open the project in Visual Studio Code:
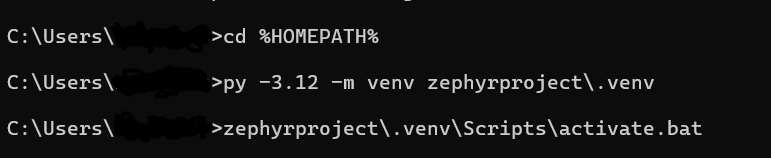
For Windows users, the process is essentially the same:
3. Configuring the Project for Your Board
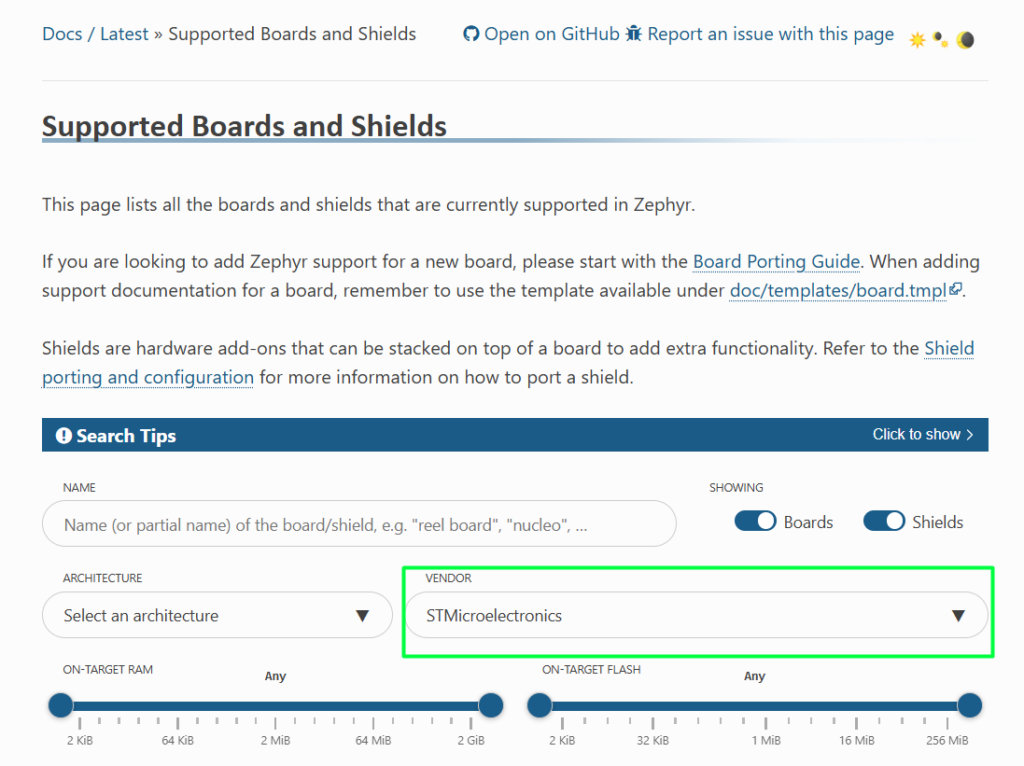
Tips and Tricks when using a different STM32 board
Rename the Overlay File
Inside the boards folder, rename the overlay file to match your board name:
b_u585i_iot02a.overlay (for example)
Modify sample.yaml
Open sample.yaml and update the integration_platforms section:
integration_platforms:
– custom_plank
– b_u585i_iot02a
If you are using a different board, replace b_u585i_iot02a with your board’s Zephyr name.
4. Enabling UART and Flashing the Application
Open the board overlay file located at:
boards/<your_board>.overlay
Add the following code to enable USART1:
Next, open the prj.conf file and add:
This enables the UART driver in your application.
4.1 Writing the UART Application
Replace the contents of src/main.c with the following code, in case you are not using the github example:
4.2 Understanding the Code
const struct device *uart = DEVICE_DT_GET(DT_NODELABEL(usart1));
This line obtains a pointer to the usart1 device defined in the DeviceTree.
void uart_print(const struct device *dev, const char *str)
This function sends a string through the UART interface one character at a time.
while (*str) {
uart_poll_out(dev, *str++);
}
The uart_poll_out() function transmits a single character. The loop continues until the null terminator (‘\0’) is reached.
uart_print(uart, “Hello World!\r\n”);
This sends the string “Hello World!” through the UART. The \r\n sequence creates a new line on most serial terminals.
k_sleep(K_SECONDS(1));
The application waits one second before sending the message again.
4.3 Building and Flashing
Build the application:
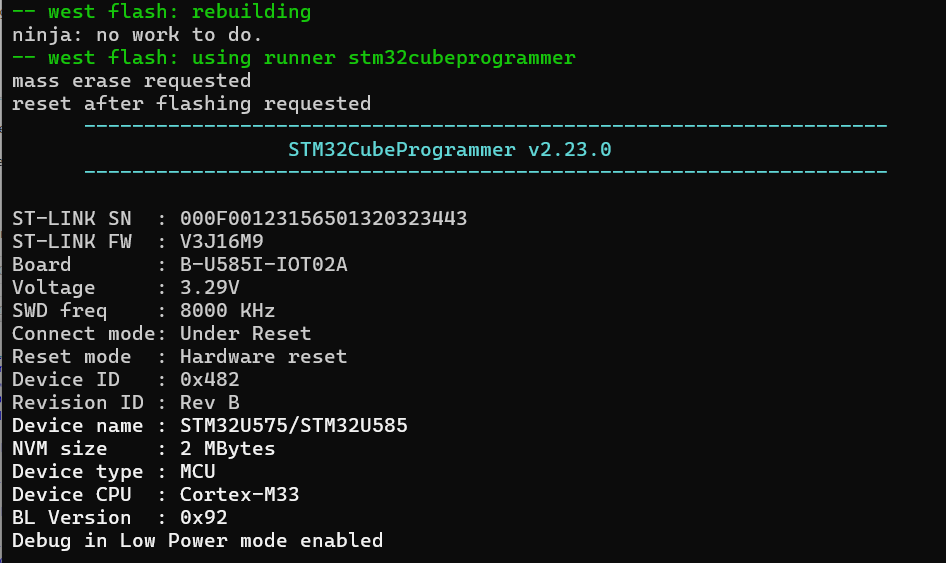
Program the built code to the board:
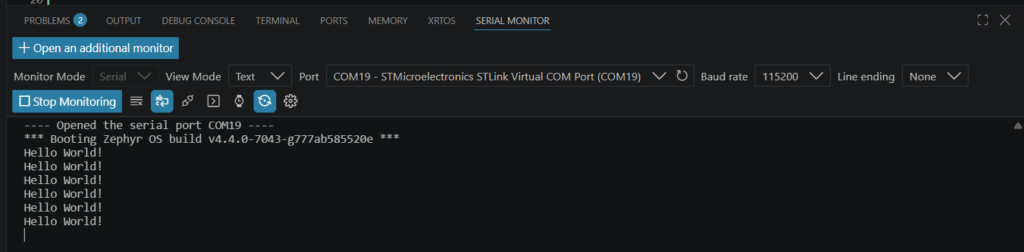
Open a serial terminal connected to your board using a baud rate of 115200 baud. You should see the message: “Hello World!” printed once every second.
Tips and Tricks – How to change the board
If you are using a different board, replace b_u585i_iot02a with your board name. In this case, we’ve used the new nucleo_c562re
You can reflash the project on the new board using the same command:
Conclusion
In this tutorial, you learned how to configure and use UART communication in Zephyr. After enabling the UART driver and configuring the UART peripheral through the DeviceTree overlay, you created a simple application that periodically transmits text using the uart_poll_out() API.
Although this example focuses on transmitting a basic “Hello World!” message, the same concepts can be applied to more advanced applications such as debugging, communication with external peripherals, command-line interfaces, and data logging. UART remains one of the most useful tools in embedded development, and mastering it provides a solid foundation for building more complex Zephyr-based applications.