STM32: How to create a Project with VS Code and STM32CubeIDE extension

STM32 VS Code Tutorial: First Blinky project!

Abstract

This article provides a practical, hands-on guide to creating an STM32 project using Visual Studio Code and the STM32 VS Code Extension. Following a structured and technical approach, we explore installation, project generation via STM32CubeMX, project import, build, and debug workflow.

1. Introduction

Modern embedded development increasingly leverages lightweight and flexible IDEs such as Visual Studio Code. With the STM32 VS Code extension (v2.0.0 or newer), developers can achieve a complete development workflow including configuration, compilation, and debugging directly from VS Code. This guide walks step-by-step through creating a functional STM32 project using STM32CubeMX integration.

2. Prerequisites

Hardware:
– STM32 Nucleo board (e.g., NUCLEO-G071RB)
– USB cable

Software:
– Visual Studio Code
– STM32 VS Code Extension
– STM32CubeMX (v6.11 or newer)
– STM32CubeIDE (optional components)

3. Development Workflow

3.1 Installing the STM32 VS Code Extension

Open VS Code, navigate to Extensions (Ctrl+Shift+X), search for “STM32CubeIDE for Visual Studio Code”, and install the extension pack. This extension integrates tooling required for STM32 development into VS Code.

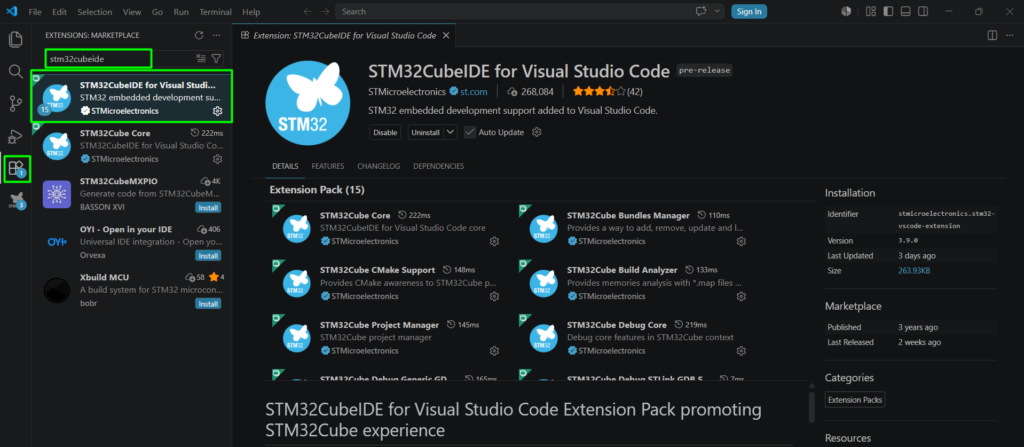
3.2 Creating a Project Using STM32CubeMX

  1. Launch STM32CubeMX from the STM32 VS Code Extension.
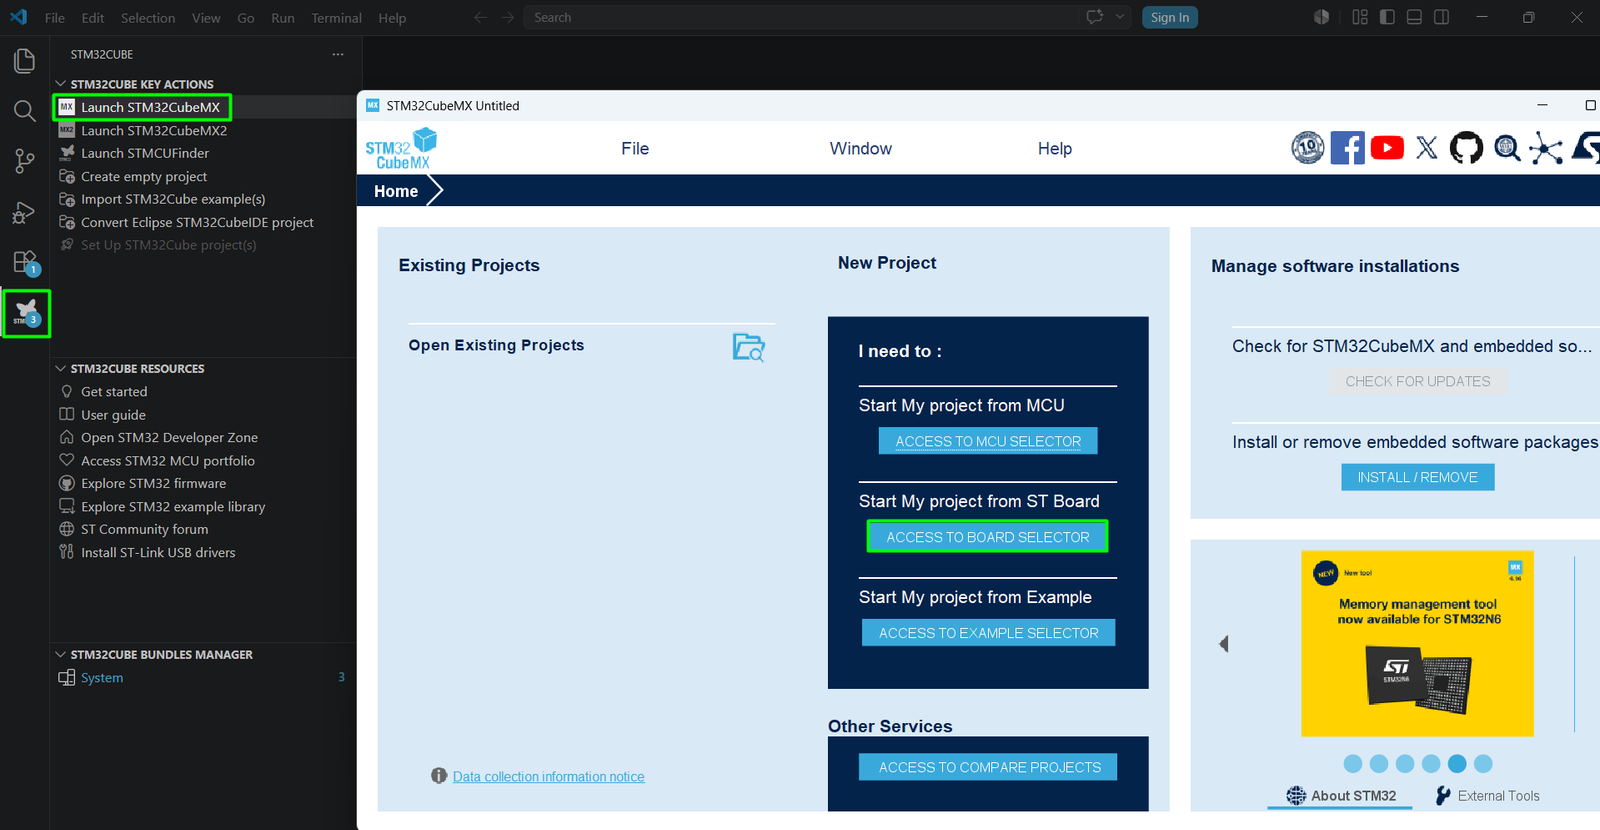
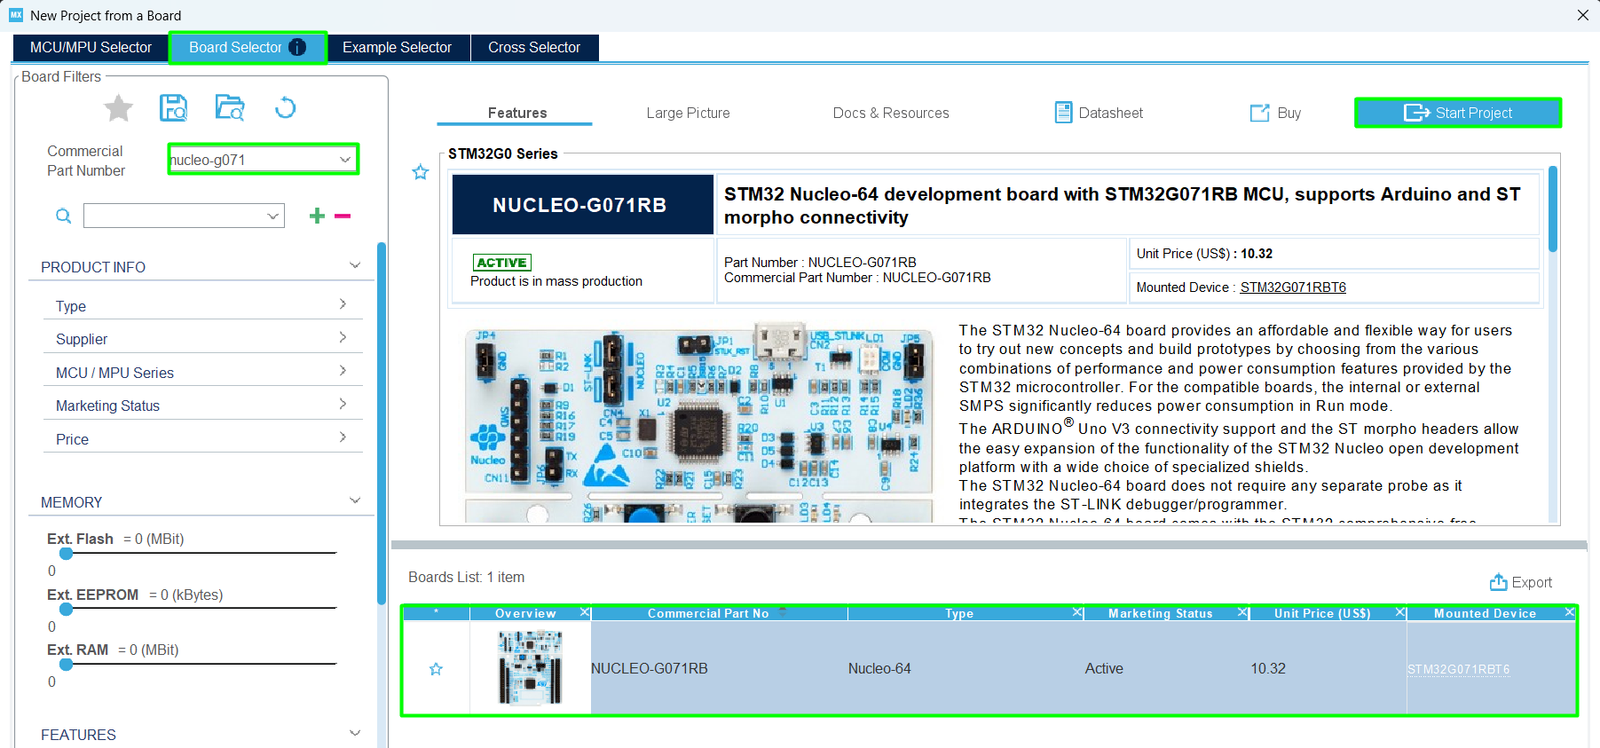
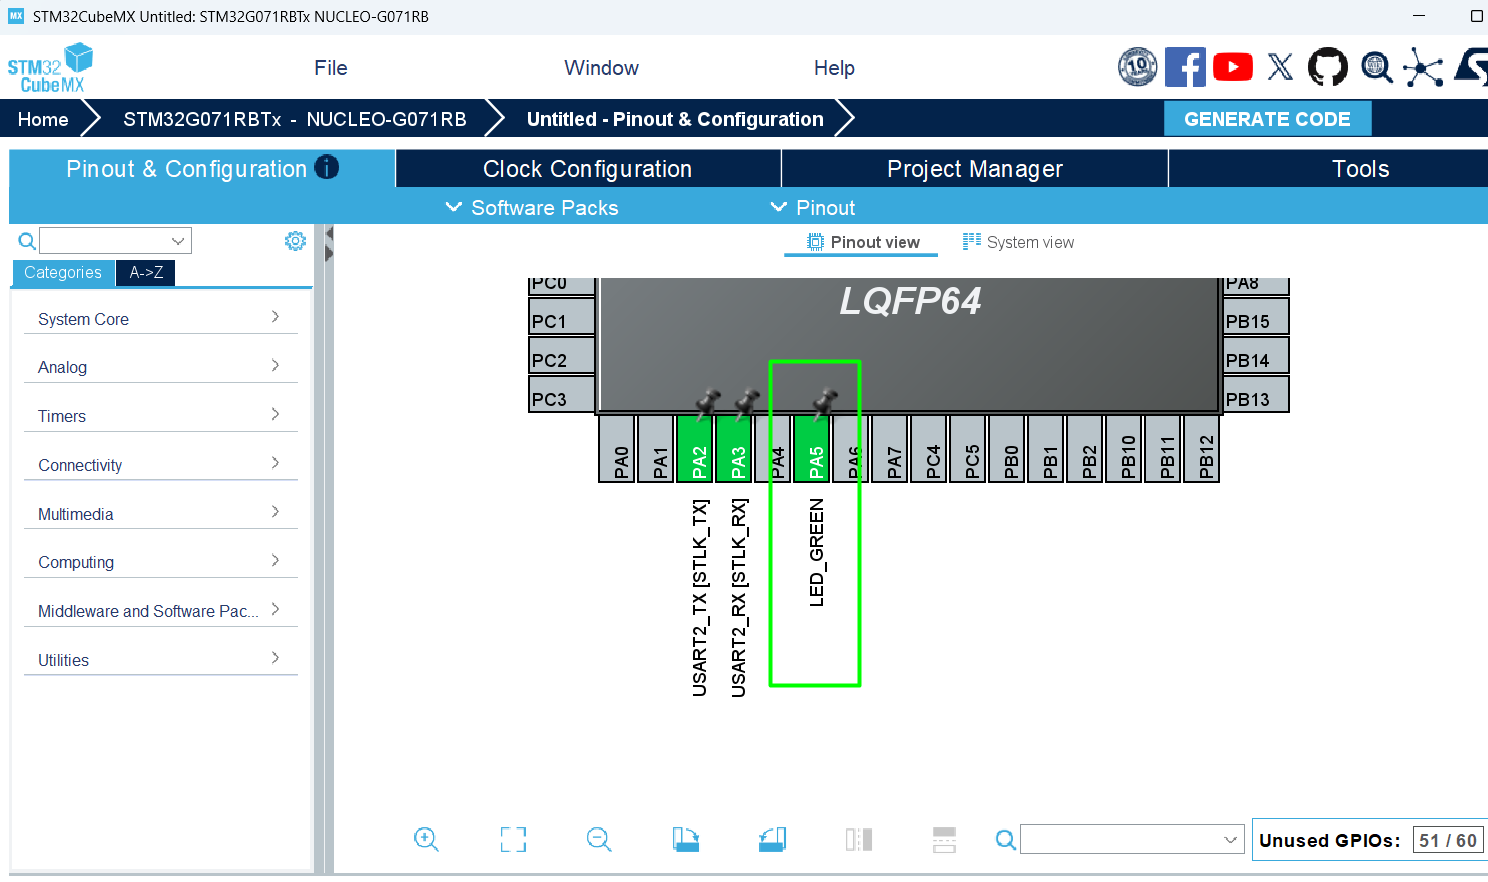
  2. Select a board using the Board Selector (e.g., NUCLEO-G071RB).
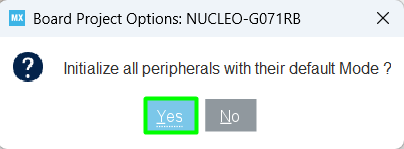
  3. Initialize peripherals with default configuration.
  4. Configure application (e.g., LED on PA5).
  5. In Project Manager, set Toolchain to CMake.
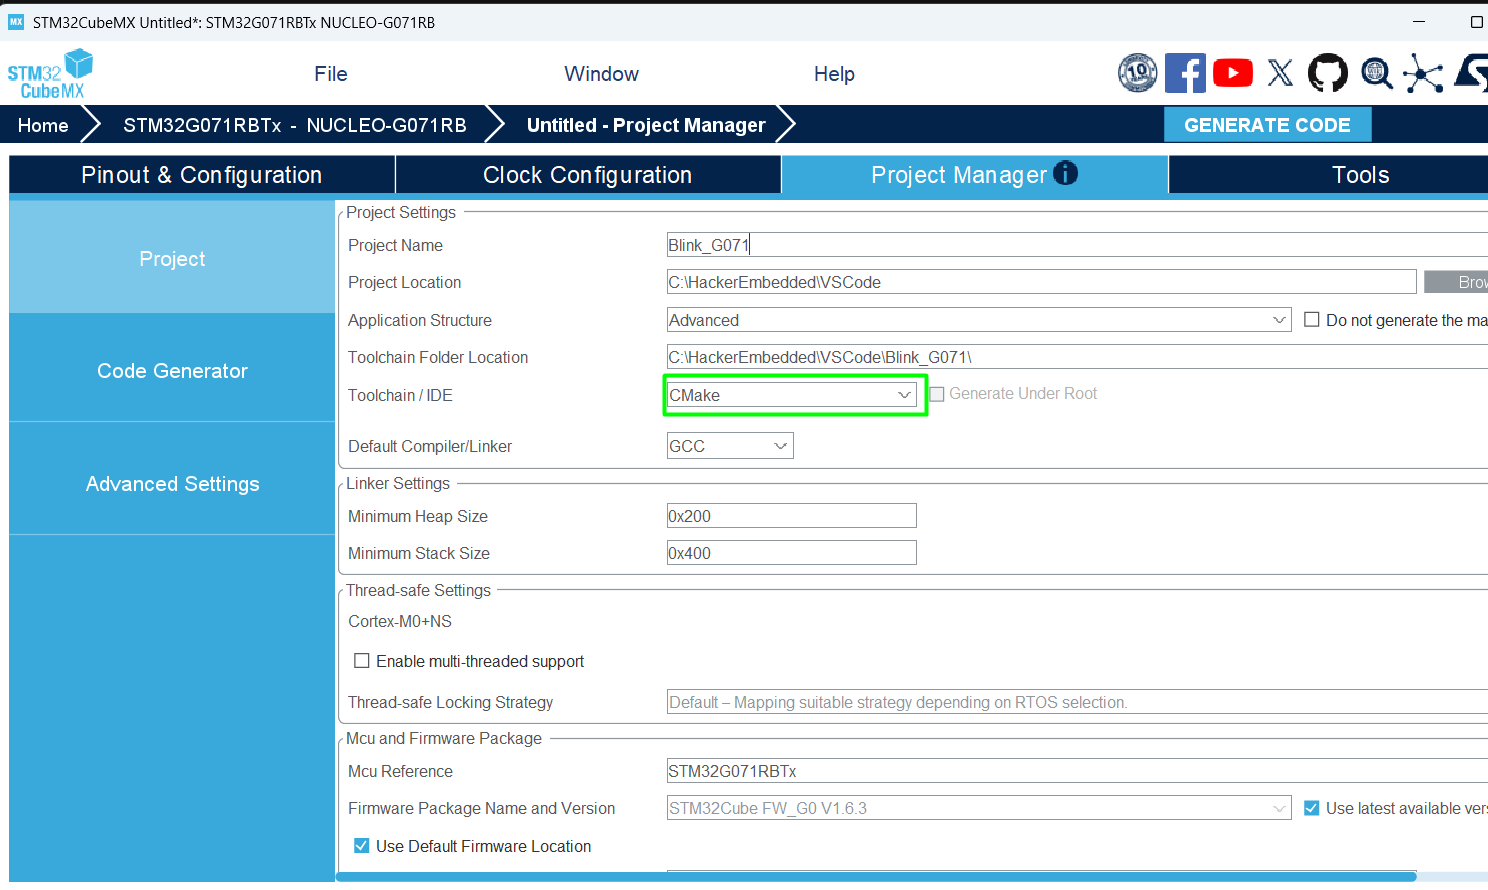
  6. Generate code.

3.3 Importing the Project into VS Code

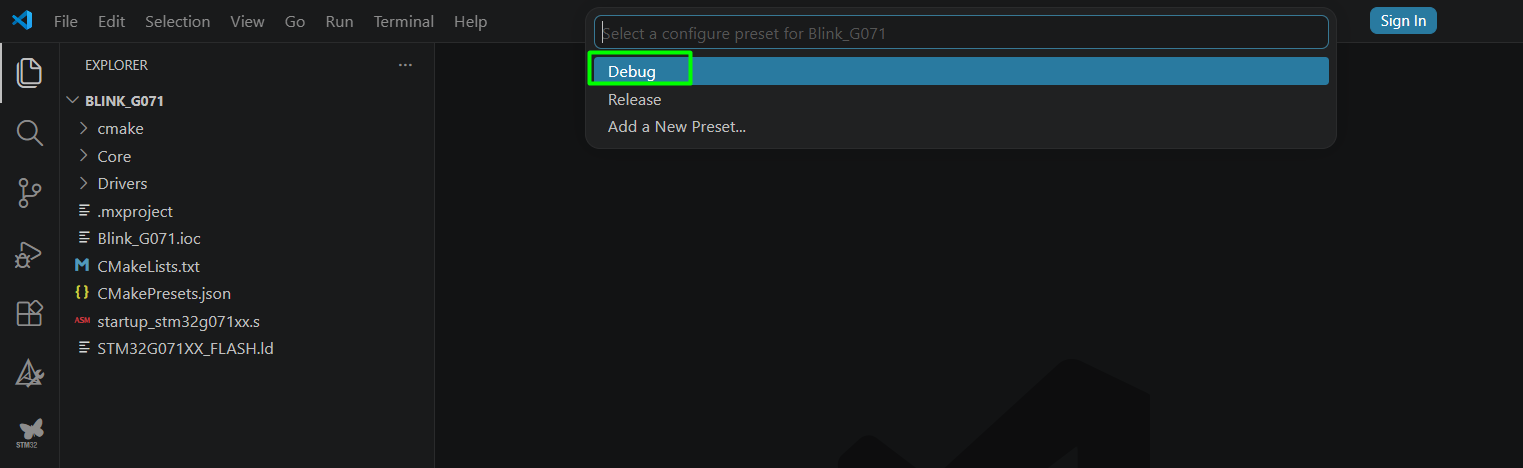
Open the generated project folder in VS Code. When prompted, configure it as an STM32Cube project. Select Debug configuration to enable debugging support.

3.4 Build and Debug

  1. Modify main.c to toggle an LED:
				
					while (1)
{
 /* USER CODE END WHILE */

 /* USER CODE BEGIN 3 */
 HAL_GPIO_TogglePin(GPIOA, GPIO_PIN_5);
 HAL_Delay(100);
}
				
			
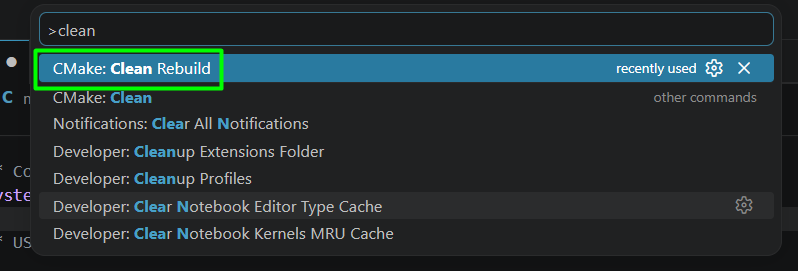
  1. Build the project using the Build option or press Ctrl+P and type “clean rebuild”

If all goes well, you should see the build finished message. It is even better if check the CMAKE, as it will provide the Build Analyzer information.

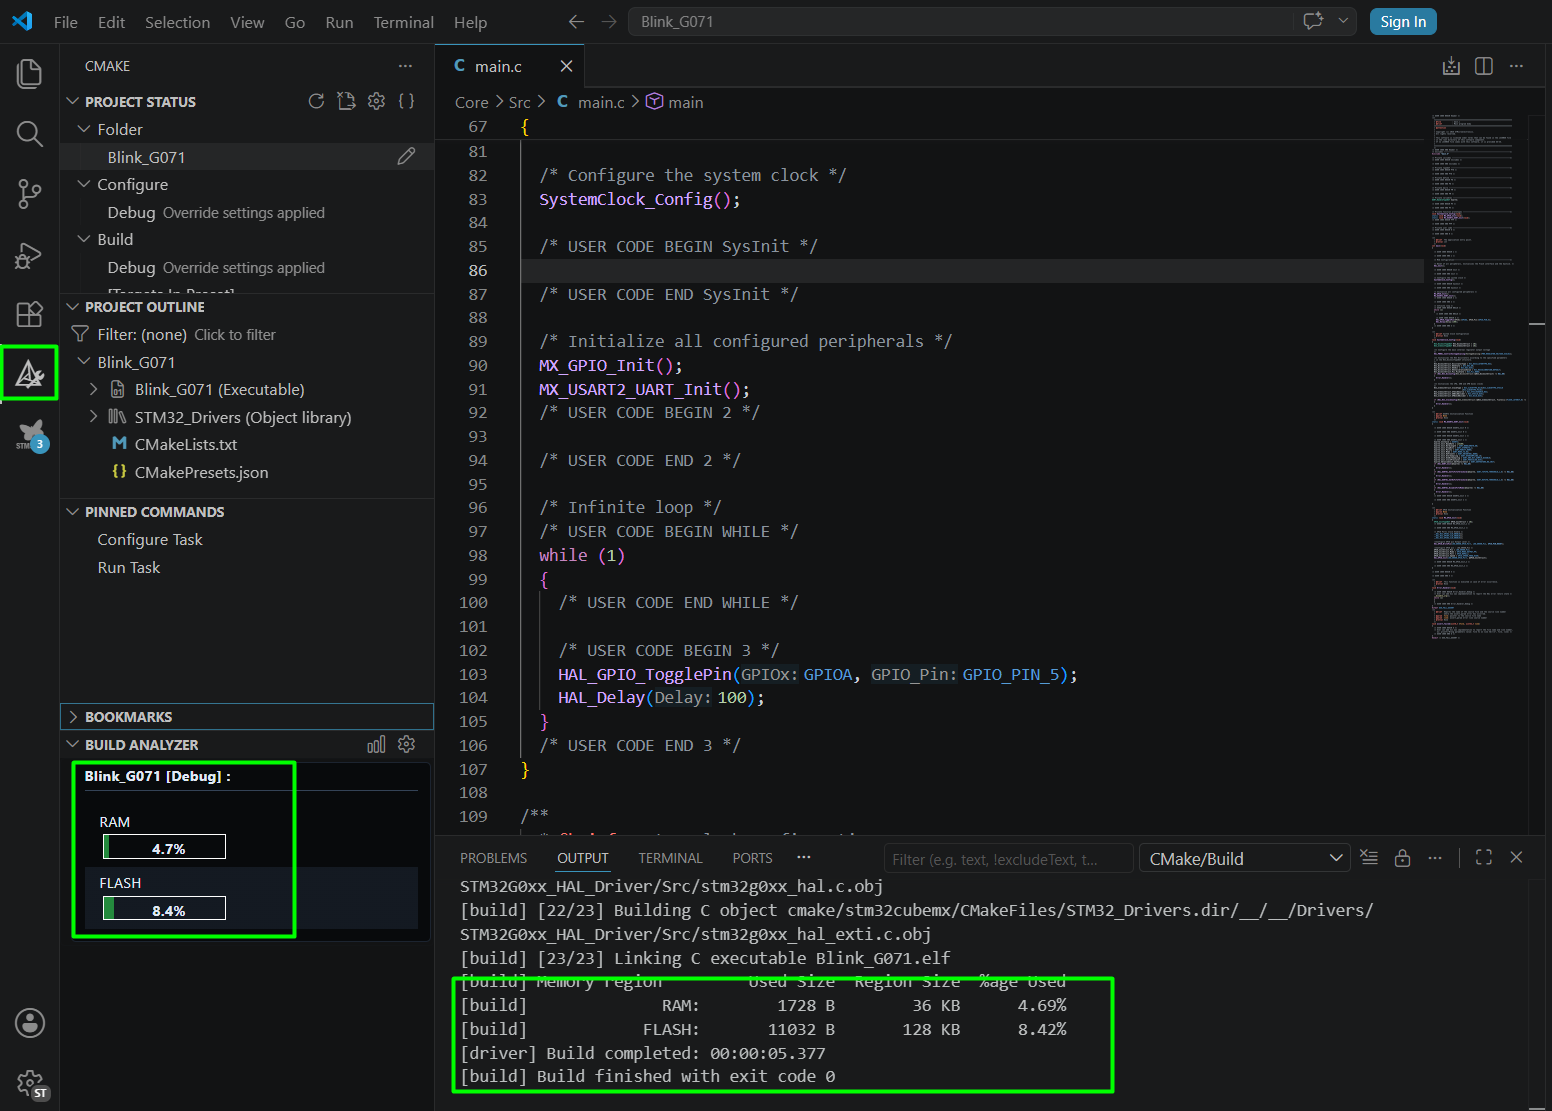
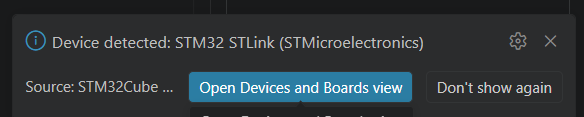
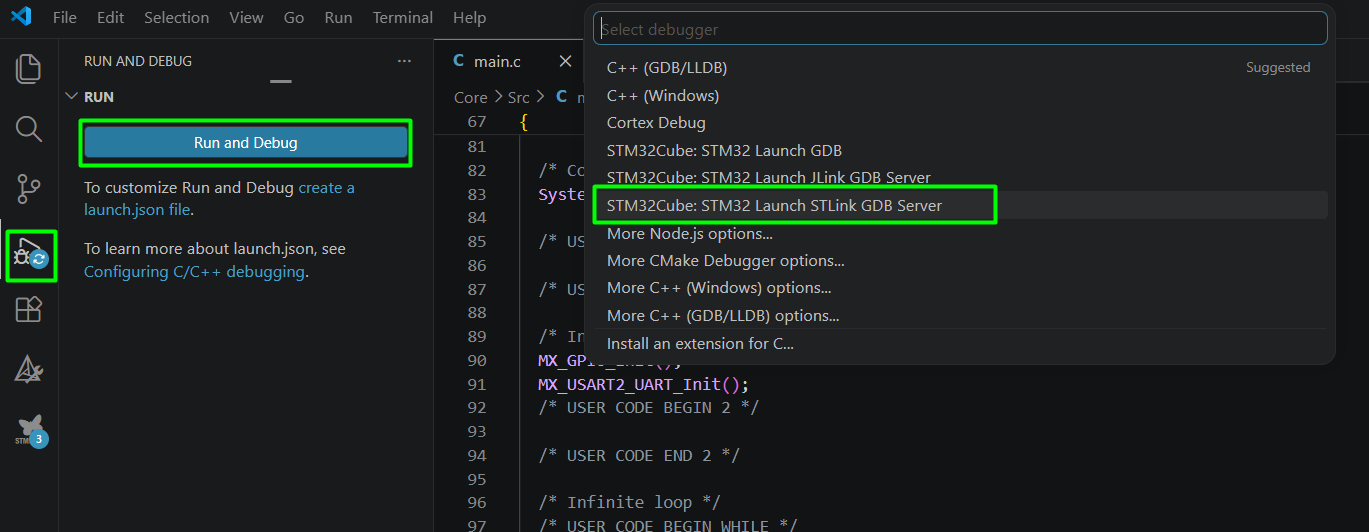
  1. Connect your NUCLEO board, the message should pop up and you can start debugging using Run and Debug.

If needed, you can update your STLINK firmware as well.

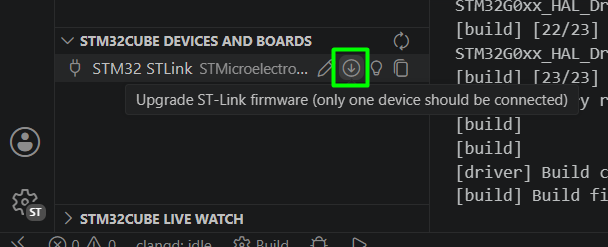
  1. Select ST-Link GDB Server as debugger.
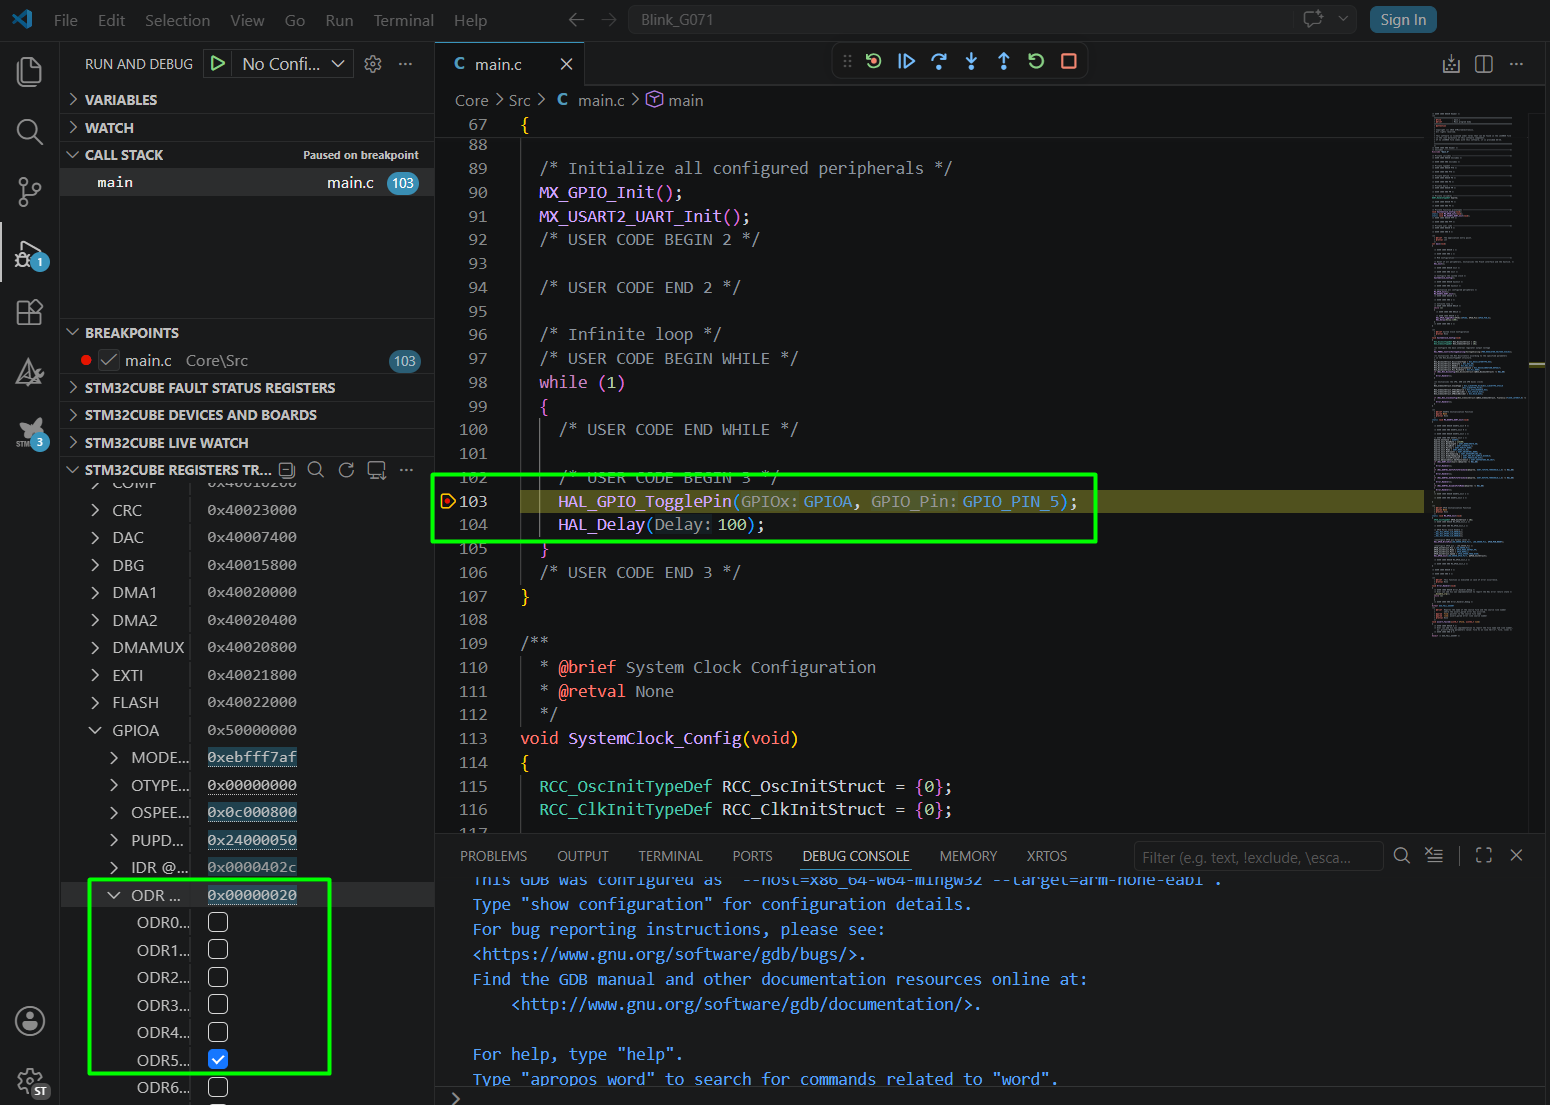
  2. Use breakpoints and stepping tools to inspect execution and monitor your registers and/or your LED on/off.

4. Observations

The STM32 VS Code extension provides a seamless workflow from configuration to debugging. Integration with CubeMX simplifies peripheral setup while maintaining flexibility for custom firmware development.

5. Common Pitfalls

– Project not detected: Ensure CMake configuration is correct.
– Debug not starting: Verify debugger configuration and USB connection.
– Build errors: Confirm all toolchains are properly installed.

6. Conclusion

By following this workflow, developers can rapidly create STM32 projects using VS Code. This setup provides flexibility, modern tooling, and scalability for advanced embedded applications.

Leave a Comment

Your email address will not be published. Required fields are marked *

Scroll to Top